Key takeaways
- Teach one concrete task per tutorial.
- Prioritize clear sound, readable details, and stable framing.
- Demonstrate with safe sample data.
- Record short sections and remove distractions.
- Human-review AI drafts and automated captions.
- Verify publishing tools, review the final video, and schedule only after approval.
Start with a customer task, not a camera upgrade
A useful product tutorial helps someone complete a specific task. For indie hackers, solopreneurs, and small business owners, that might mean showing a first-time user how to create an invoice, assemble a product, or change a subscription setting.
You do not need a studio to explain those actions clearly. A phone, a stable support, and a quiet space are enough to get started.
The goal is not cinematic polish. It is removing uncertainty so viewers can take the next step.
Choose one outcome per video
Before recording, finish this sentence: “After watching, the viewer will be able to…”
Keep the answer narrow. “Understand our software” is too broad. “Send a first invoice with a payment link” gives you a clear beginning and ending.
Look for tutorial ideas in:
- Questions that appear repeatedly in support messages.
- Setup steps that new customers find confusing.
- Product actions that are easier to demonstrate than describe.
- Mistakes that cause avoidable delays or frustration.
Prioritize tasks that matter to customers and are reasonably stable. A tutorial about a screen you plan to redesign tomorrow may create unnecessary rework.
Example: outline an invoice tutorial
Imagine you sell a simple invoicing tool. Your outline could be:
- Show the completed invoice briefly.
- Open the invoice creation screen.
- Add a sample customer and line item.
- Check the amount and payment details.
- Send a test invoice.
- Show where to confirm its status.
Use fictional demonstration data. Hide customer names, addresses, payment information, notifications, and anything else that should not appear publicly.
Prepare a simple recording setup
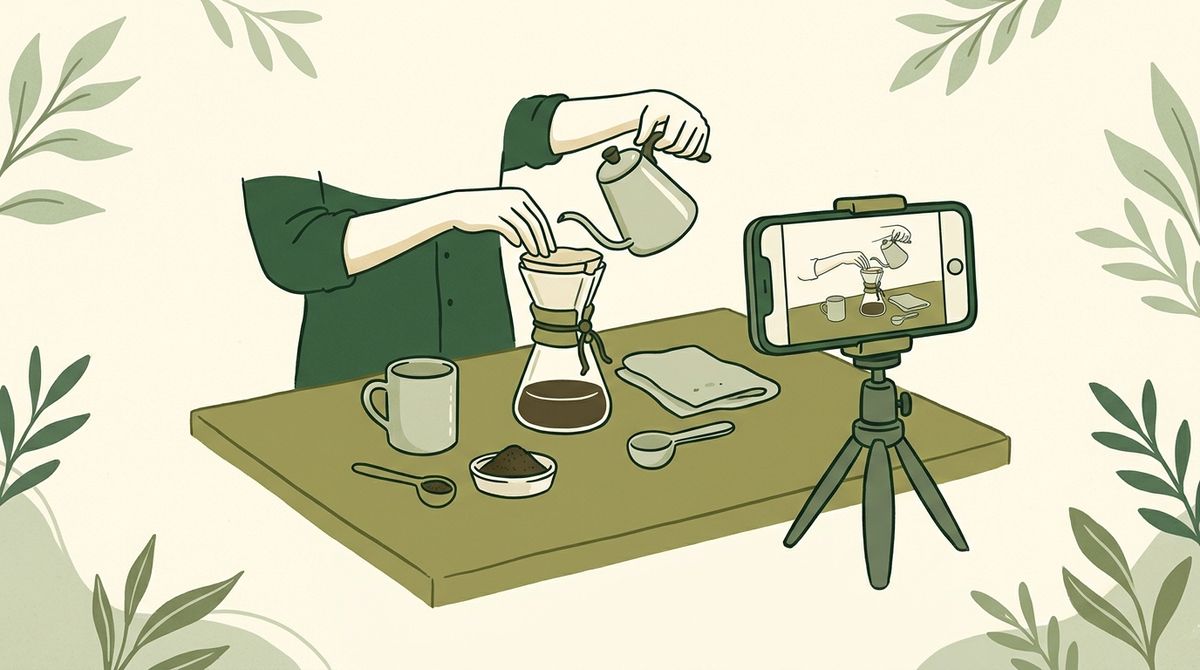
Clean your phone lens before filming. Set the phone on a tripod or secure stand rather than holding it throughout the demonstration.
Place yourself or the product near a window, with the light facing the subject. Avoid a bright window directly behind you.
Record in the quietest practical room. Turn off unnecessary fans, silence notifications, and listen for traffic or appliance noise.
A phone microphone can work when it is close enough to the speaker. If speech sounds distant or unclear, move closer before buying equipment.
Record a short test, then check:
- Can you understand every sentence without straining?
- Are small labels and controls readable?
- Does your hand block the action?
- Are reflections hiding important details?
- Is the background distracting?
Choose horizontal or vertical framing based on where the tutorial will appear. Leave space around important actions so cropping does not remove essential information.
Write a short script you can actually say
A tutorial script should sound like helpful guidance, not a sales presentation.
Start with the outcome, explain any prerequisites, and move into the demonstration. Replace vague phrases such as “configure the relevant parameters” with specific instructions such as “enter your business name.”
Write one action per sentence. Include a reason when it helps prevent mistakes.
For example: “Choose a due date. Check it before sending, because this is the date your customer will see.”
Read the script aloud. If a sentence makes you stumble, shorten it.
Example: demonstrate a physical product
Suppose you sell an adjustable desk stand. Plan the recording in this order:
- Place the folded stand on a clear table.
- Show the release mechanism close up.
- Open the stand slowly.
- Adjust the angle using the product’s actual instructions.
- Place a compatible device on it.
- Show the final position from the side.
Do not improvise safety advice or claim compatibility you have not verified. Refer to the product documentation when limits or precautions matter.
Record in small, repeatable sections
You do not have to deliver the whole tutorial perfectly in one take.
Record the introduction, each major step, and the ending separately. Pause briefly before and after every action. Those pauses make editing easier.
For software tutorials, a native screen recording may show interface details more clearly than pointing a phone at a monitor. Your phone can still record the introduction, narration, or a brief explanation alongside the demonstration.
Move slowly enough for viewers to follow. Keep the pointer near the relevant control, and avoid unnecessary scrolling.
If you make a mistake, pause and repeat the sentence or action. There is usually no need to restart everything.
Edit for clarity and check captions
Remove long pauses, repeated explanations, and setup footage that does not help the viewer finish the task.
Keep useful context. Cutting directly from an empty form to a completed result may hide the very step customers need.
Add brief on-screen labels where they clarify an action. Make text readable on a phone and keep it away from interface controls.
Captions can help people follow speech, but automated captions require human review. Check product names, technical terms, numbers, punctuation, and timing against the recording.
Do not assume captions alone make a video accessible or promise automated accessibility compliance. Depending on the content, viewers may also need spoken descriptions of visual actions, a transcript, or a written alternative.
Fit Orymus into a reviewed publishing workflow
If you use Orymus in your content process, separate planning, AI-assisted drafting, human review, and scheduling. Check its current documentation before relying on any particular capability; this workflow does not assume that Orymus provides every function.
Plan before drafting
Create a tutorial brief containing the audience, task, prerequisites, demonstration steps, and intended publishing destination.
Include the product version or recording date where relevant. This makes future maintenance easier.
Use AI assistance with boundaries
Where supported by your chosen tools, use AI assistance to turn approved notes into a script outline, description, or caption draft.
Supply verified source material. Ask for missing information to be flagged rather than guessed. Do not put confidential customer information into a tool without appropriate authorization.
Review, then schedule
A human reviewer should check every instruction against the actual product, confirm claims, inspect visible data, and review captions.
Only then prepare the release date. If Orymus supports the scheduling workflow you need, verify the destination, time zone, and publication settings. Otherwise, schedule through another suitable tool or publish manually.
Recheck the tutorial if the product changes before publication.
FAQ
How long should a tutorial be?
Long enough to complete the promised task without unnecessary explanation. Split a complicated workflow into separate videos when each part has a useful standalone outcome.
Do I need an external microphone?
Not necessarily. Start with a test recording. Improve distance and room noise first; consider a microphone if speech remains unclear.
Should I include background music?
Only if it serves a purpose. Clear speech matters more. If you use music, confirm you have the necessary rights and keep it from competing with narration.
Put your social media on autopilot.
Plan, write and schedule your next great post with Orymus.